Pre-season Battery Checks
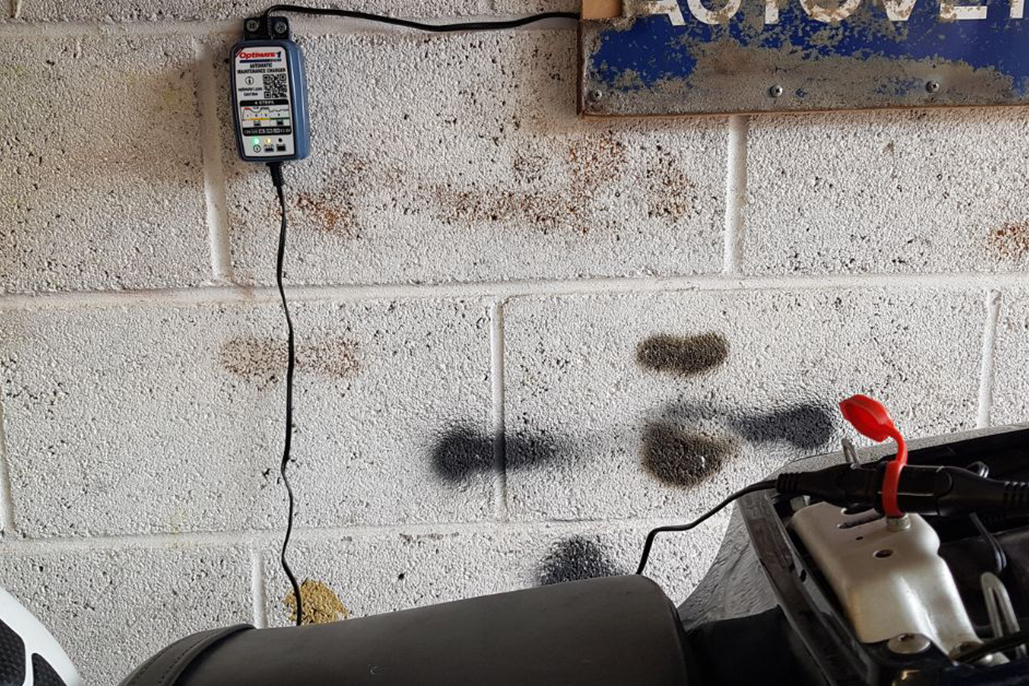 Has your motorcycle been sitting in the garage or under a cover all winter long?
Batteries lose power over time,but with a few basic checks and a bit of maintenance you can make sure your bike starts on the button whenever you need it. We asked the battery saving experts at OptiMate for their top tips.
Your first job is to figure out the type of battery fitted to your motorcycle – is it Lead Acid (old school), Maintenance Free / AGM (common on most modern machines) or Lithium (becoming increasingly popular on high performance and off-road bikes). Here’s how to tell the difference.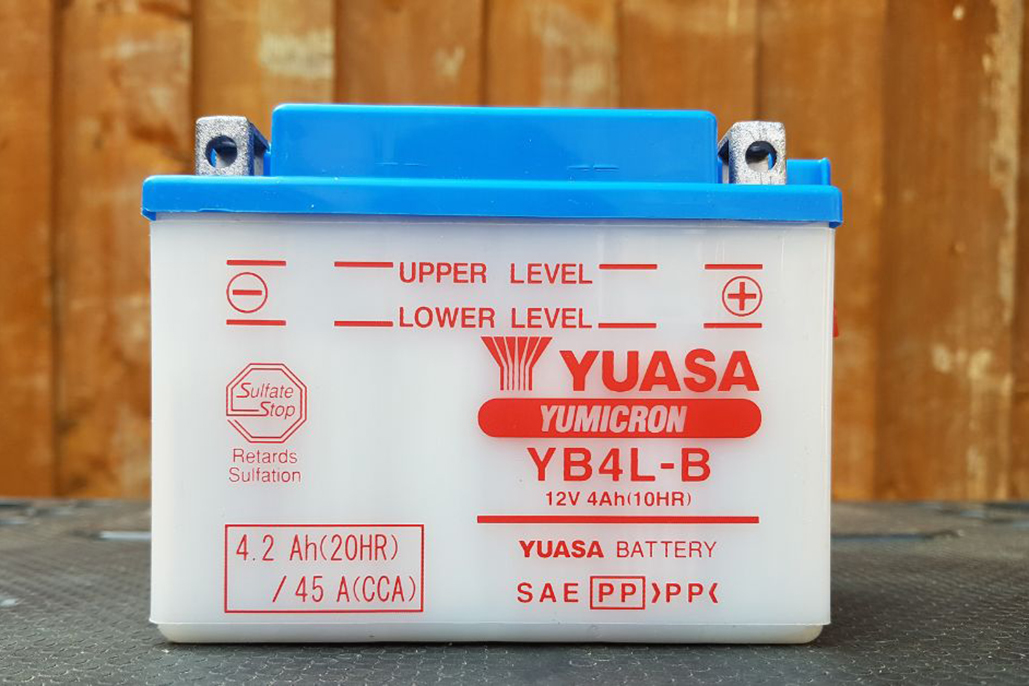
Lead Acid
Conventional Lead Acid batteries will usually be labelled with reference numbers starting with the letters YB, CB or GB (e.g YB14L-A2); Y, C or G (e.g Y60-N24L-A); or 12N (e.g 12N24-3)
They usually have a black top with a row of plastic stoppers (three stoppers in a 6 volt battery and six in a 12 Volt). Inside are lead plates, surrounded by electrolyte mixture (the acid). This needs topping up with distilled water from time to time, so the stoppers can be removed to give access.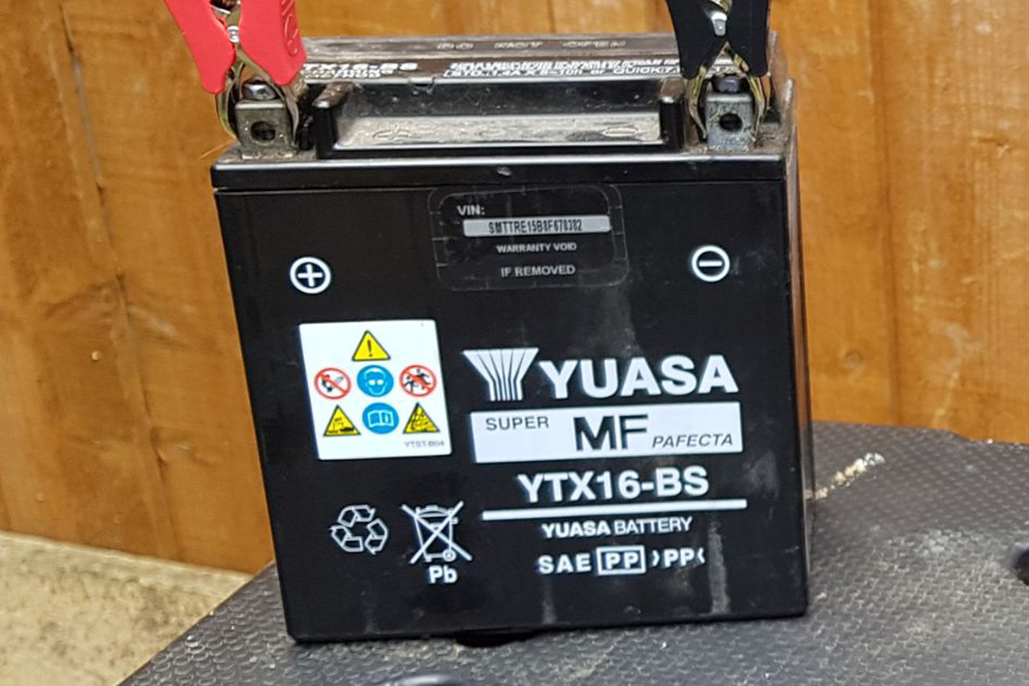
Maintenance Free / AGM
Maintenance Free or AGM (Absorbed Glass Mat) batteries are the most common type used in modern motorcycles, and normally have reference numbers starting with the letters YTX, CTX or GTX (e.g YTX9-BS).
They usually have a black case and have a stopper sunk into the top. Once filled, these batteries do not need to have the top removed, the acid level checked or be topped up. The electrolyte is suspended in fibreglass mats between the lead plates inside, hence the name.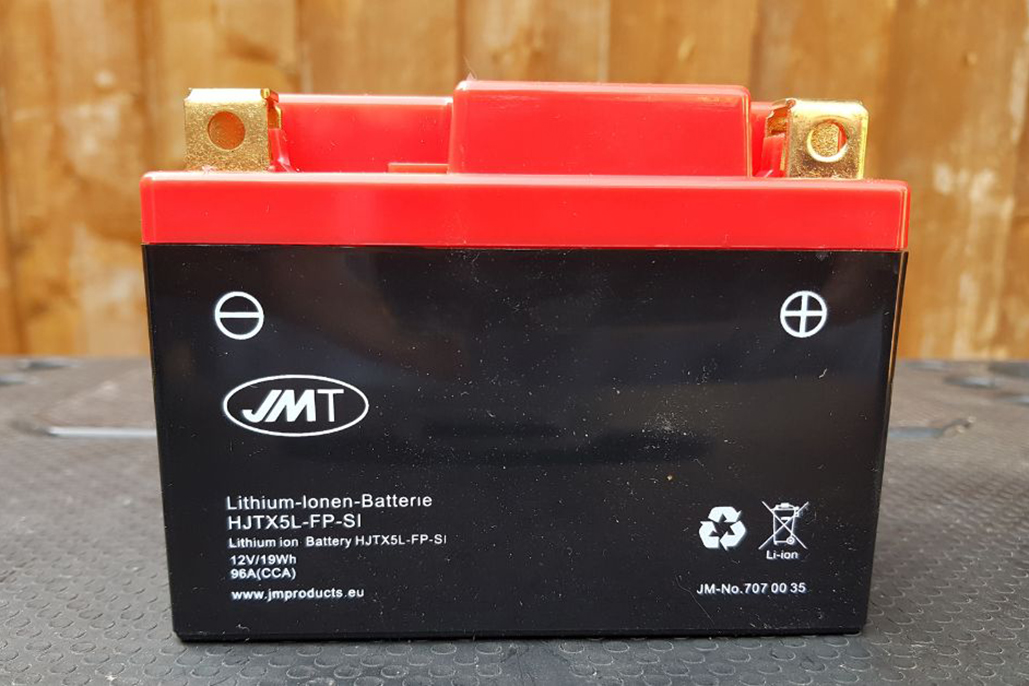
Lithium Ion
Lithium Ion is the general group name used for all Lithium batteries. There are many different types – Lithium Iron Phosphate, also known as Lithium Ferrous Phosphate, is used for engine starter batteries. These will generally be marked as ‘Li-ion’, ‘LFP’ or ‘LiFePO4’.
Like Sealed/AGM batteries, Lithium Ion batteries usually have a black case, but have no stoppers in the top.
 Check the condition of your battery
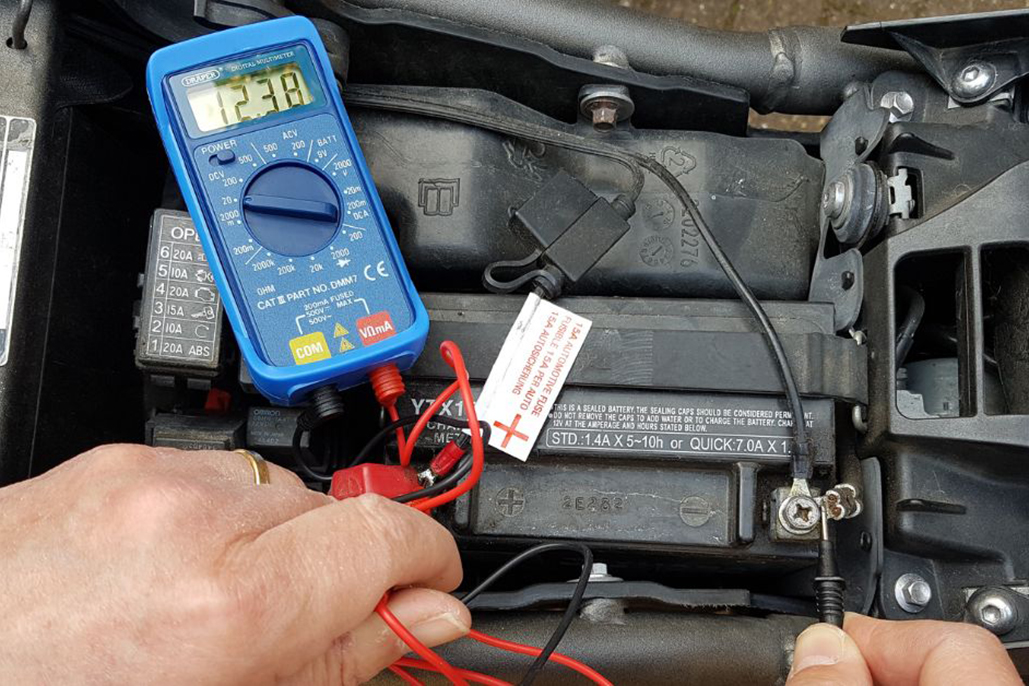
Multimeters can seem intimidating, but testing your bike’s Voltage with one is super simple, and they are a useful tool that costs little to buy.
With the ignition off, set the multimeter to the ‘20V DC’ (direct current) range. Connect or touch the red probe/clip to it to the positive terminal of your battery and the black one to the negative terminal.
If you’ve done it right, the Voltage should now be displayed on the meter’s screen.
A healthy 12V battery should give a reading between 12.5V and 12.9V. A conventional Lead-Acid should read 12.4V to 12.6V; a Maintenance Free/AGM should be 12.7V to 12.9V; and a Lithium battery will normally be either 12.8V or 13.2V.
Next, start the engine and rev to between 3,000–4,000 rpm. This will indicate the voltage being put out by the alternator – an ideal charging range is between 14V to 14.5V, but down to 13.5V is acceptable.
If you have a lithium battery, your machine’s charging system should be putting out the safe charging rate of 14.4V. If it’s putting out more than that, there could be a problem.
If the reading is too high the voltage regulator could be faulty, which will cause the battery to overheat and fail.
If the reading is too low, the alternator is not generating sufficient current to recharge the battery – again another indication that there is a fault.
To make life easy, the OptiMate TS120 plug-and-play tester uses simple icons to indicate that everything is OK, or to highlight potential problems.
Attach a suitable OptiMate optimiser to your battery and it will test, check and assess your battery’s condition – again, using an easy-to-understand display to keep the user infomed – charging, repairing and even recovering deep discharged units automatically and safely.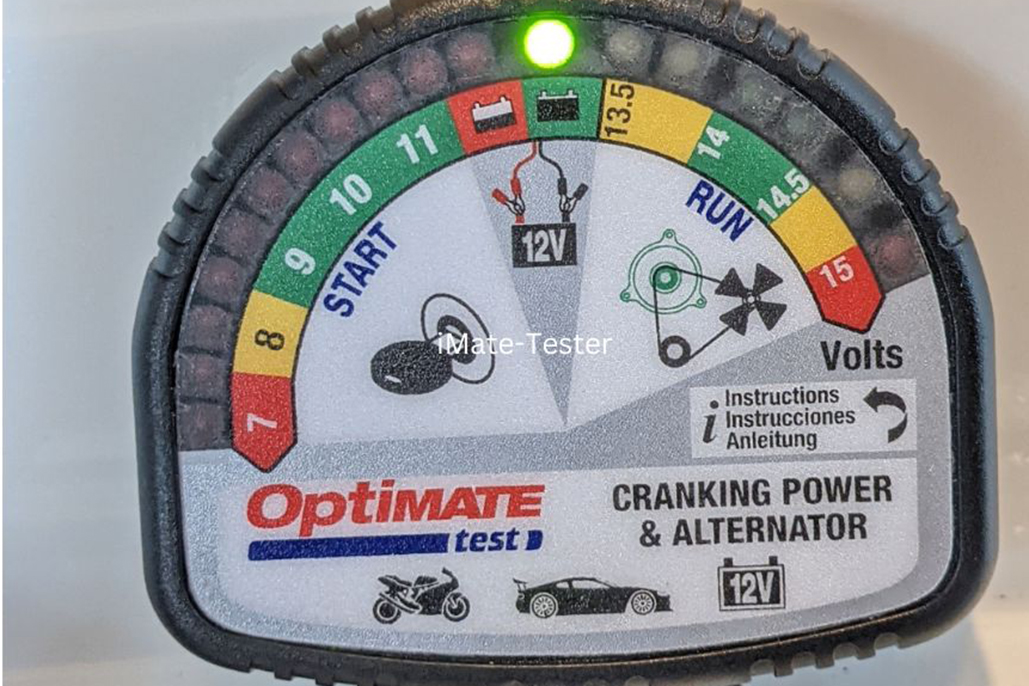
Charging and maintaining
Regularly charging and maintaining your battery not only keeps it working to maximum capacity, it can also double its working life, as well as significantly reducing the likelihood of it failing.
There are many smart chargers on the market, which are designed to be attached to your motorcycle’s battery whenever it is parked up for long periods of time (more than a few days). These should not be confused with simple ‘trickle chargers’ which charge a battery slowly and then stop charging once a certain voltage is reached. Trickle chargers aren’t designed to be attached to batteries for long periods of time and won’t maintain a battery in the same way as a smart charger.
Recommended by most major motorcycle manufacturers, OptiMate chargers and optimisers can maintain, test, charge and even repair a bike’s battery, all completely automatically.
All OptiMate chargers run a unique ‘connect and forget’ 24hr, 7 days-a-week, 365 days-a-year program, so they can and should be connected to your bike’s battery and left to do their work – no user input needed.
OptiMate Bronze series chargers automatically detect whether the battery is AGM or Lithium and charge accordingly – no need to pre-select or remove the battery from the bike – and will be suitable for the majority of modern bikes..
Visit www.optimate1.com to see the full range.
For more info checkout our dedicated Optimate News page Optimate News
See the complete OptiMate range of chargers and monitors at www.optimate1.com.


